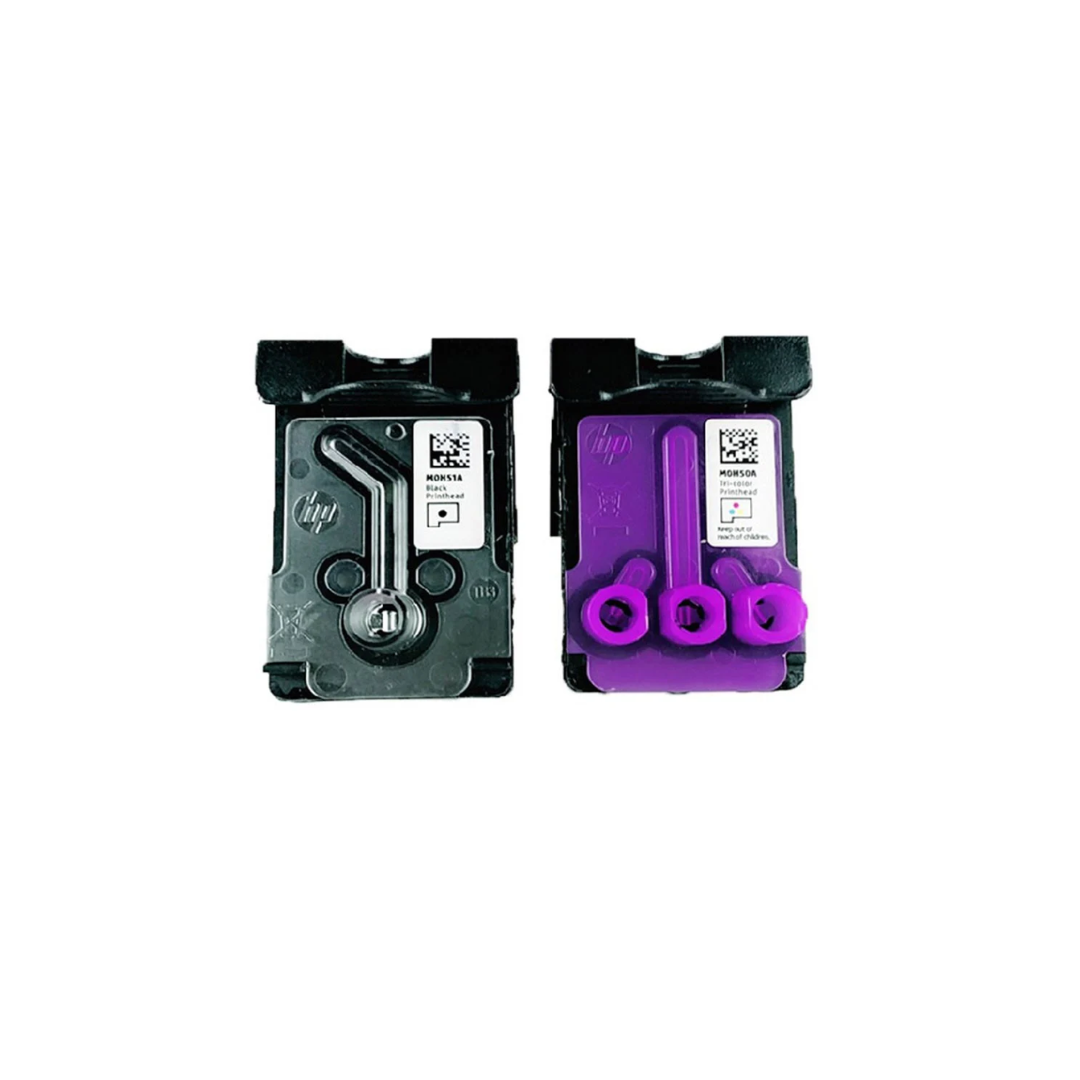
How to Change HP Smart Tank Print head
Share
Purchase a printhead
Replace the printhead
Remove the faulty printhead, and then install the new replacement.
-
Turn on the printer.
-
Lift the ink access door, and then wait until the carriage stops.
-
Press the blue button on the carriage to open the printhead cover.
-
Remove the printhead from the carriage, and then set it aside on a protected surface.
CAUTION:To prevent ink from leaking, hold the printhead by its sides and keep the printhead upright at all times.
-
Remove the new printhead from its package.
-
Pull the plug straight up from the top of the printhead.
-
Remove the tape from the printhead contacts using the pull tabs.
CAUTION:Do not touch the copper-colored contacts or the ink nozzle. Do not replace the protective tape on the contact. Handling these parts can result in clogs, ink failure, and bad electrical connections.
-
Insert the new printhead into its slot until it snaps into place.
-
Close the printhead cover.
-
Close the ink access door.
-
Align the printheads.
-
If your printer has a touchscreen control panel, follow the control panel prompts to print an Alignment page, and then follow the instructions on the page to scan it and align the new printheads.
-
If your printer does not have a touchscreen control panel, an A blinks on the control panel and an Alignment page prints automatically. Follow the instructions on the page to scan it and align the new printheads.
-
