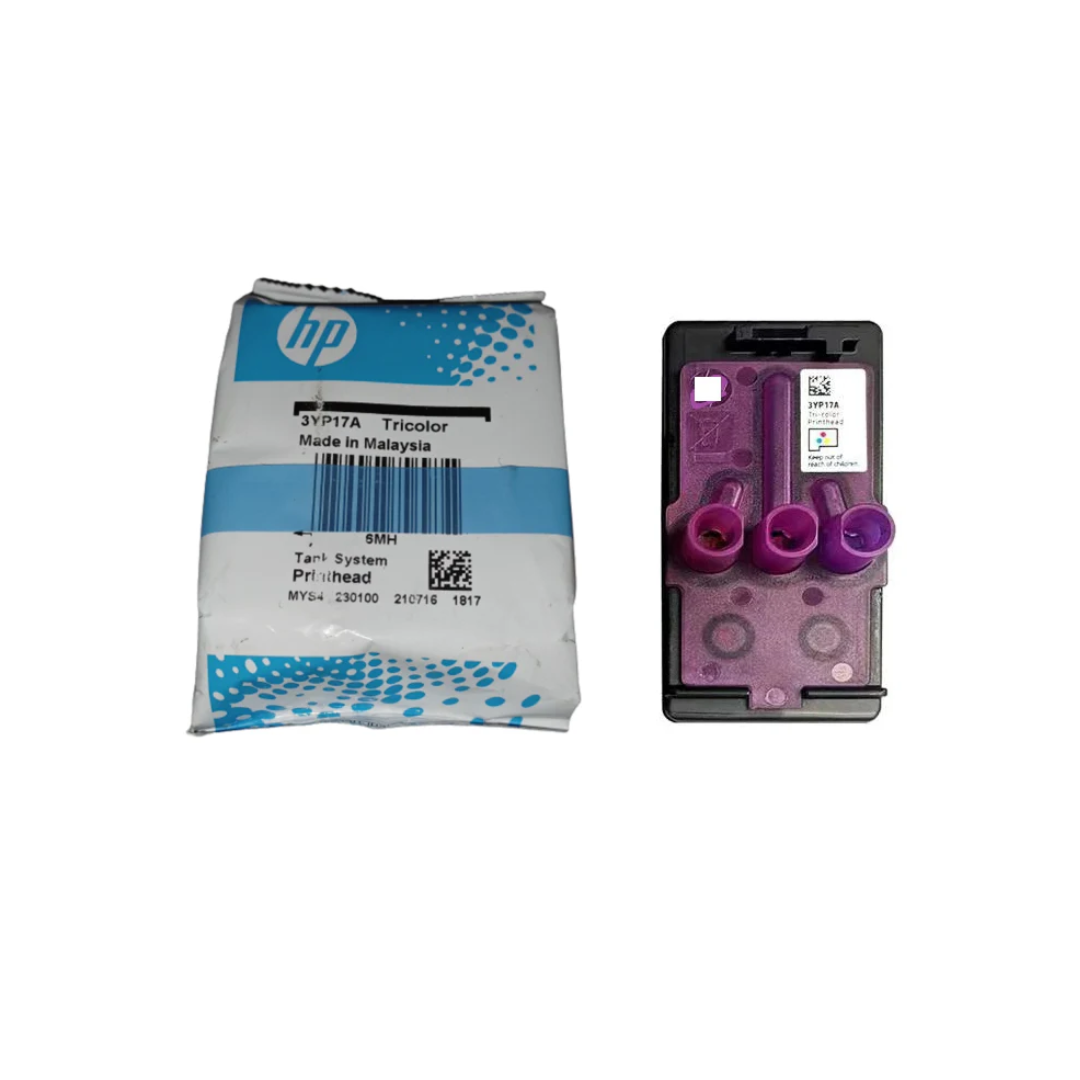
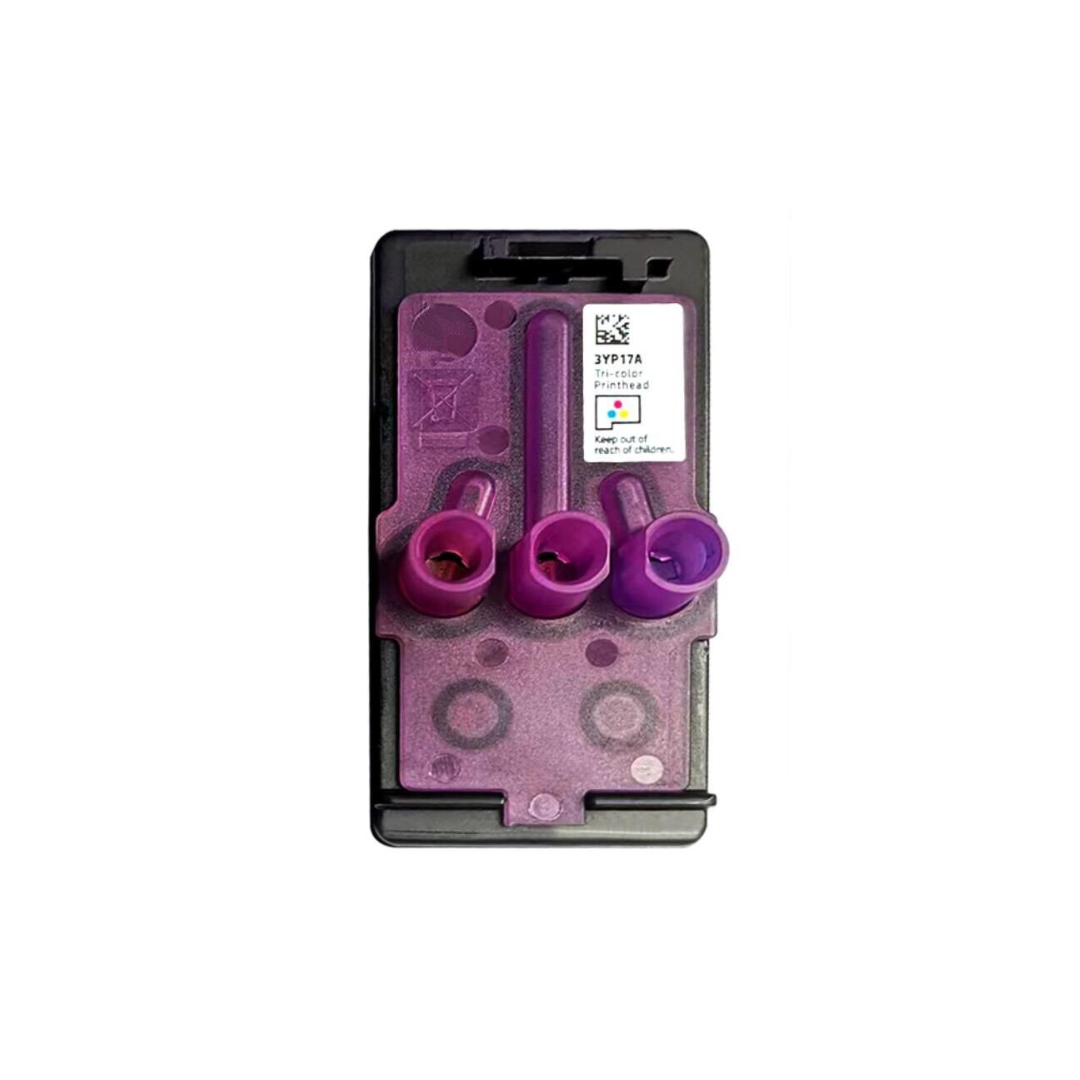
HP 3YP17A Tricolor Printhead for HP Smart Tank 720 750 790
HP 3YP17A Tricolor Printhead for HP Smart Tank 720 750 790
Free Delivery on This Item!
16 in stock
Couldn't load pickup availability
Compatible Printers
SmartTank-670
SmartTank-720
SmartTank-725
SmartTank-750
SmartTank-755
SmartTank-790
SmartTank-795
SmartTank-6000-series
SmartTank-7000-series
SmartTank-7300-series
SmartTank-7600-series
SmartTank 7605
How to :
Product Description
Product Description
Compatible Printers
SmartTank-670
SmartTank-720
SmartTank-725
SmartTank-750
SmartTank-755
SmartTank-790
SmartTank-795
SmartTank-6000-series
SmartTank-7000-series
SmartTank-7300-series
SmartTank-7600-series
SmartTank 7605
How to :
Determine which printhead caused the error
Look at the control panel (non-touchscreen printers) or printer display (touchscreen printers) to determine which printhead caused the error.
-
If the error screen Print head problem indicates that the tri-color printhead is not communicating or the Attention light
and the tri-color print head icon are flashing, it is the tri-color print head that caused the error.
-
If the error screen Print head problem indicates that the black printhead is not communicating or the Attention light
and the black printhead icon are flashing, it is the black printhead that caused the error.
-
If the error screen Print head problem indicates that the tri-color and black printheads are not communicating or the Attention light
and both printhead icons are blinking, both printheads have caused the error.
Check the print heads
The printer may display an error if the printheads are not installed correctly.
Make sure all ink tanks are at least half full and there is paper in the input tray.
-
Raise the ink access door and wait for the carriage to stop.
-
Make sure the print head cover is closed.
-
If the print head cover is closed, continue with the following steps.
-
If the print head cover is open, press down to close it, close the ink access door, and then try printing. If the error persists, continue with these steps.
-
-
Press the blue button on the print head carriage to open the print head cover.
-
On the printhead with the error, press down to release it, and then pull it out of the slot.
CAUTION:
To avoid wasting ink, hold the print head by its sides and keep it upright at all times.
-
Make sure the caps on top of the new printhead have been removed.
-
Make sure you have removed the tape from the print head contacts.
CAUTION:
Do not touch the copper-colored contacts or the ink nozzles. Do not reapply the protective tape over the contacts. Touching these parts can cause clogging, ink failure, and poor electrical connections.
-
Insert the print head into the slot until it clicks into place.
-
Repeat the above steps for the other head only if indicated by the error message or print head icon .
-
Close the print head cover.
-
Close the ink access door.
-
Align the print heads.
-
If your printer has a touch screen control panel, follow the prompts on the control panel to print an Alignment page, and then follow the instructions on the page to align the printheads.
-
If your printer does not have a touch screen control panel, a TO blinks on the control panel and an alignment page prints automatically. Follow the instructions on the page to align the printheads.
-
restart the printer
Reboot the printer to recover from errors or failures.
-
With the printer turned on , unplug the power cord from the product.
-
Disconnect the power cord from the power source.
-
Wait 60 seconds.
-
Plug the power cord back into the wall outlet and into the printer.
NOTE:
HP recommends that you plug the printer directly into a wall outlet.
-
Turn on the printer to complete the reset.
Share


Subscribe to our emails
Be the first to know about new collections and exclusive offers.
- Choosing a selection results in a full page refresh.
- Opens in a new window.


